To test your room before buying more gear, start by listening to familiar tracks in different spots to spot inconsistencies, echoes, or dead areas. Use measurement tools like a room analyzer or SPL meter to get objective data on frequency response and sound levels. Experiment with your speakers, microphones, or monitors—try changing their positions and angles. Focus on identifying issues like muddiness or uneven sound, which can often be improved with acoustic treatment and placement adjustments. Keep exploring for more tips to optimize your space.
Key Takeaways
- Conduct thorough acoustic testing using familiar tracks and measurement tools to identify reflection issues and frequency imbalances.
- Experiment with equipment placement, adjusting speakers and monitors to optimize sound clarity and stereo imaging.
- Add or modify acoustic treatments like panels and bass traps based on observed echoes and dead spots.
- Use objective data from measurement tools to pinpoint problematic frequencies or uneven sound distribution.
- Assess if current gear and room properties meet your needs before investing in additional equipment.
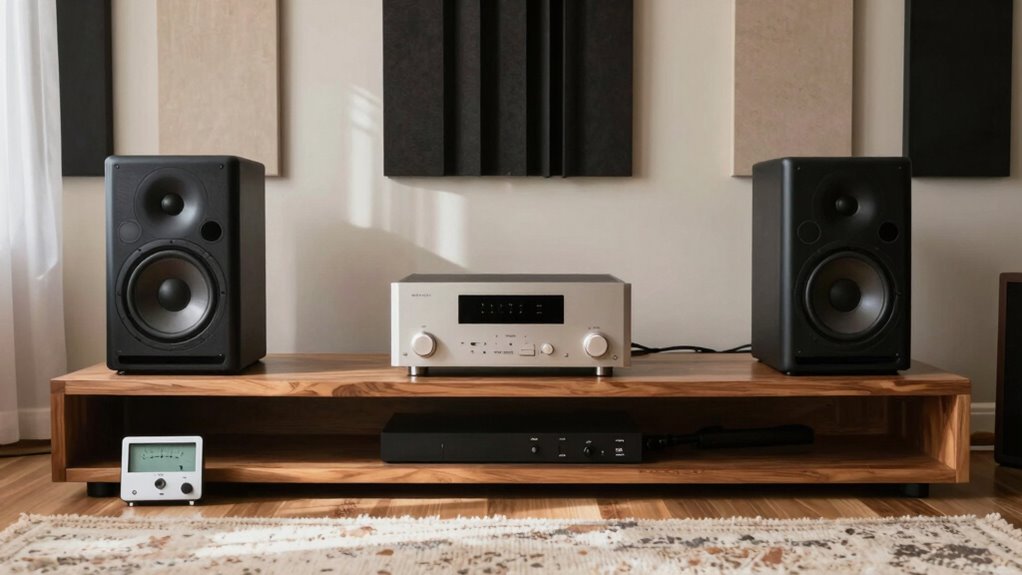
Before investing in more gear, it’s essential to evaluate whether your current setup truly meets your needs. One of the most effective ways to do this is by thoroughly testing your room. The goal is to identify how sound behaves in your space and whether your existing equipment is capable of delivering the quality you want. Start by focusing on acoustic treatment and equipment placement, as these are critical factors that influence your room’s sound. Proper acoustic treatment involves adding panels, bass traps, or diffusers to control reflections, standing waves, and echoes. When you test your room, listen carefully to how sound interacts with your environment. Are there noticeable echoes or dead spots? Are certain frequencies overly prominent or muffled? These observations help you determine if your acoustic treatment is sufficient or if you need to adjust or add to it.
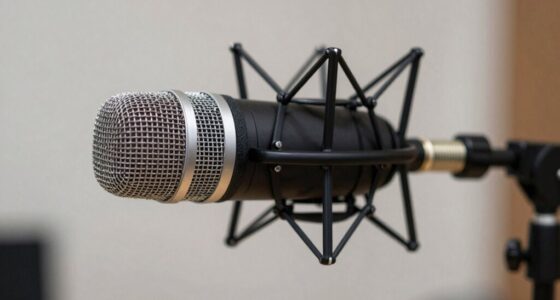
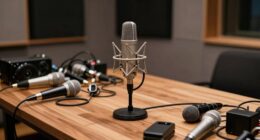
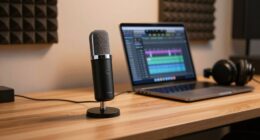
Next, pay attention to equipment placement. How your speakers, microphones, or monitors are positioned can drastically change your listening experience. When testing, experiment with different placements—moving speakers closer to or farther from walls, angling them differently, or adjusting their height. Notice how these changes affect clarity, stereo imaging, and bass response. If certain areas of your room produce muddiness or weak sound, it might be a sign that your equipment placement needs fine-tuning before you consider new gear. Use your ears and, if possible, measurement tools like a room analyzer or SPL meter to get objective data on frequency response and sound pressure levels throughout the space.
While testing, also evaluate the room’s overall balance. Play familiar tracks or reference mixes and listen for consistency across different listening positions. If you find that certain spots sound significantly different, it indicates an acoustic problem that can often be fixed with strategic placement or treatment. This process helps you understand whether your current gear, combined with your room’s properties, is adequate or if upgrades are necessary. By focusing on acoustic treatment and equipment placement, you avoid unnecessary purchases and ensure you’re addressing the core issues affecting sound quality. Testing thoroughly allows you to make informed decisions, saving you time and money in the long run. Once you’re confident your room’s acoustic environment is optimized, then you can determine if additional gear will genuinely improve your setup or if further adjustments are needed first.

ordinarYone Professional Sound Measurement Tool For Accurate Noise Analysis With LCD Panel And Handheld Design
Professional Sound Measurement: The HT602A/B decibel tester accurately measures sound intensity from 30 to 130 units, ideal for…
As an affiliate, we earn on qualifying purchases.
As an affiliate, we earn on qualifying purchases.
Frequently Asked Questions
How Long Should I Test a Room Before Deciding?
You should test a room for at least a few days to get a full sense of its atmosphere, especially considering decorative elements and lighting conditions. Spend enough time at different times of the day to see how natural and artificial light affect the space. Pay attention to how the decor influences the mood. This way, you’ll better understand if the room suits your needs before investing in more gear.
What Equipment Is Essential for Accurate Testing?
You need essential measurement tools like a calibrated microphone and a spectrum analyzer to accurately test your room. These tools help you evaluate sound behavior and identify issues that need room treatment. Use your microphone to capture frequency responses, then analyze the data to determine where acoustic treatment is necessary. Proper measurement tools guarantee precise assessments, guiding your decisions on room treatment to achieve ideal sound quality before investing in more gear.
How Do I Identify Soundproofing Issues?
To identify soundproofing issues, listen for echoes or outside noise leaks when quiet. Use a sound level meter to detect inconsistencies in sound absorption. Check if decorative panels are effectively absorbing sound or just decorative. If you notice persistent reflections or noise infiltration, it indicates insufficient soundproofing or inadequate sound absorption. Address these issues by adding more acoustic treatments or improving existing soundproofing measures to enhance the room’s acoustics.
Can I Test a Room’s Acoustics With Everyday Items?
Yes, you can test a room’s acoustics with everyday items. Use your voice or claps to listen for echoes or dead spots, paying attention to how sound reflects off decorative elements and furniture placement. Move furniture around to see how it alters the sound. Adding soft furnishings like rugs or curtains can help improve acoustics, while bare walls and hard surfaces may cause unwanted reverberations.
How Often Should I Re-Test a Room After Adjustments?
You should re-test your room after adjustments whenever you change the room layout or speaker placement, ideally every few weeks. This allows you to identify how these changes impact acoustics and sound quality. Regular testing helps you fine-tune speaker positions and optimize your setup, ensuring the sound remains clear and balanced. Keep monitoring periodically, especially if you notice any shifts in sound or new furniture that could affect acoustics.

Decibel Meter, TopTes TS-501B Sound Level Meter with 2.25” Backlit LCD Screen, Portable SPL Tester with A/C Weighted, Range 30-130dB, MAX/MIN, Data Hold, Use for Home, Noisy Neighbor, Factory – Orange
2.25-inch LCD Screen with Backlight: This TS-501B sound level meter is measured noise levels are expressed in decibels…
As an affiliate, we earn on qualifying purchases.
As an affiliate, we earn on qualifying purchases.
Conclusion
So, next time you’re considering more gear, remember that testing your room first isn’t just smart—it’s almost serendipitous. Sometimes, a simple test reveals unexpected quirks or hidden potential you never knew existed. It’s like a coincidence waiting to happen, guiding your choices and saving you money. Trust your initial observations; they might just lead to the perfect setup without any extra fuss. After all, the best gear fits where your room already shines.

Standard 12" Speaker Foam Surround Edge Repair Kit – 2 Speaker Kit – Fits 12" Speakers with a 3/4" Roll and The Measurements Listed
As an affiliate, we earn on qualifying purchases.
As an affiliate, we earn on qualifying purchases.

8 Pack – Bass Traps Acoustic Foam Corner, 8''x8''x12'' Black Bass Traps Corner Studio Foam, High Density and Fire-Proof Acoustic Panels Recording Studio Acoustical Treatments
Acoustic Principle- Bass Trap is a kind of sound absorbing structure specially used to absorb specific low-frequency standing…
As an affiliate, we earn on qualifying purchases.
As an affiliate, we earn on qualifying purchases.