
To build a competitive home studio, focus on consistent acoustic treatment that reduces echoes and improves sound clarity, along with precise equipment calibration to guarantee your monitors and microphones deliver accurate results. Schedule regular maintenance to keep everything running smoothly and back up your settings securely. Standardizing workflows and implementing cybersecurity measures help maintain long-term reliability. Keep refining these steps, and you’ll create a professional environment that elevates your sound quality and reputation.

Get everyday helpers delivered free with Prime
- Fast, free delivery on millions of items
- Prime Video, Amazon Music and more included
- Member-only deals all year
Key Takeaways
- Implement consistent acoustic treatments like bass traps and diffusers to ensure optimal sound quality and reduce unwanted reflections.
- Regularly calibrate all studio equipment, including monitors and microphones, to maintain accurate sound reproduction.
- Schedule routine maintenance and keep detailed logs of calibration settings for quick adjustments and long-term consistency.
- Incorporate cybersecurity practices to securely back up settings and protect your studio’s digital assets.
- Standardize setup procedures and environment adjustments to create a reliable, professional-grade space that enhances workflow and sound quality.

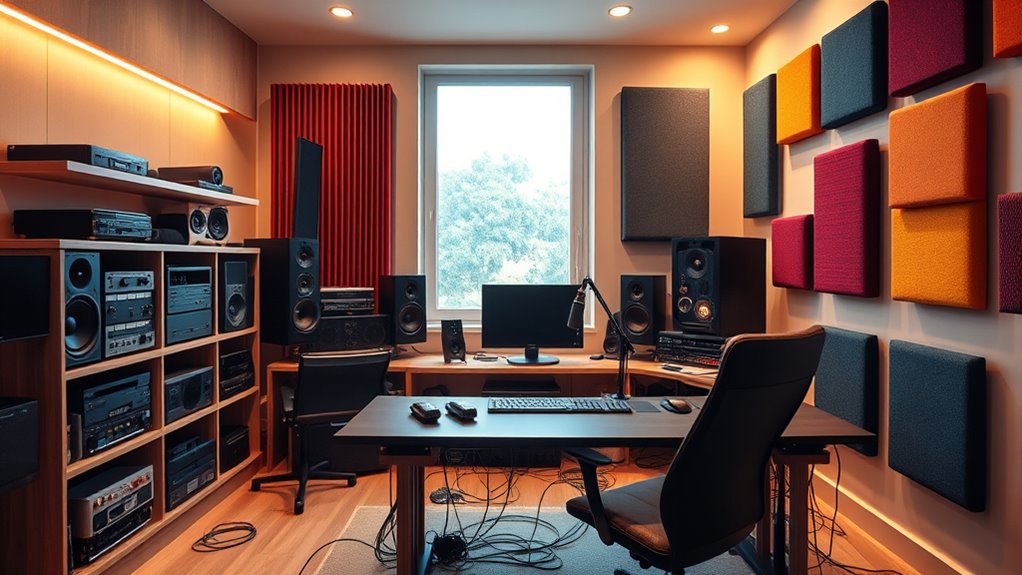
Creating a home studio that meets consistent standards can substantially improve your recording quality and workflow. One of the most crucial steps is focusing on acoustic treatment. Proper acoustic treatment helps control sound reflections, reduce unwanted echoes, and create an environment where your recordings sound clear and professional. You don’t need expensive equipment; simple solutions like bass traps, diffusers, and acoustic panels can make a significant difference. Position these strategically around your studio—especially behind your monitors and along the walls—to optimize sound quality. When your space is acoustically balanced, you’ll notice a marked improvement in how your recordings translate to other listening environments, making mixing and editing more accurate and less frustrating. Regularly assessing your acoustic environment ensures that your setup remains effective over time, especially during changes in equipment or room layout.
Optimize your recordings with simple acoustic treatment and strategic speaker placement for professional sound quality.
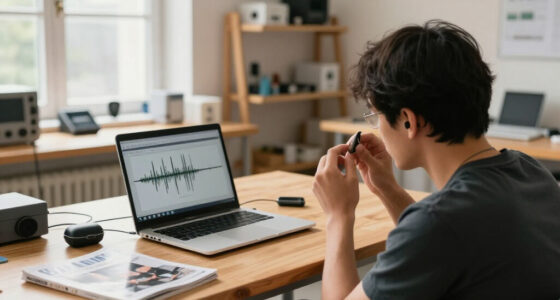
Alongside acoustic treatment, equipment calibration plays a vital role in maintaining consistent standards. Calibration ensures that your monitors, microphones, and audio interfaces are working harmoniously and accurately. Regularly calibrate your monitors by using measurement microphones and specialized software to set the correct levels and EQ curves. This step makes your monitoring environment more reliable, allowing you to make precise mixing decisions. Similarly, calibrate your microphones by checking their frequency response and sensitivity, which ensures consistent sound capture across different sessions. Proper calibration not only improves the accuracy of your recordings but also minimizes the risk of making mixing choices based on inaccurate sound reproduction.
Standardizing your setup means creating a routine for maintaining these calibration and acoustic treatment efforts. Schedule regular checkups—perhaps monthly or quarterly—to fine-tune your equipment and reassess your acoustic environment. Keep a log of calibration settings and any adjustments you make so you can quickly revert to optimized configurations if needed. This consistency saves you time and prevents discrepancies that could compromise your sound quality. It also fosters a professional mindset, encouraging you to treat your home studio as a serious production environment. Incorporating cybersecurity best practices into your workflow, such as backing up settings securely, can also help protect your investment.
Investing in these foundational aspects of acoustic treatment and equipment calibration might seem like small steps, but they are fundamental for building a reliable, high-quality space. When your space is acoustically optimized and your equipment calibrated, your workflow becomes smoother. You’ll spend less time troubleshooting sound issues and more time focusing on your creative process. Over time, these standardization practices help you develop a consistent sound, which is key to building a recognizable style and earning trust with clients or listeners. By prioritizing these elements, you set your home studio apart as a professional-grade environment capable of producing competitive, polished recordings.
home studio acoustic treatment kit
As an affiliate, we earn on qualifying purchases.
As an affiliate, we earn on qualifying purchases.
Frequently Asked Questions
What Are the Most Affordable Materials for Studio Soundproofing?
You can find affordable soundproofing materials like acoustic foam and sound barriers that work well for your home studio. Acoustic foam is inexpensive and easy to install, helping to absorb sound and reduce echoes. Sound barriers, such as heavy blankets or mass-loaded vinyl, can block sound transmission without breaking the bank. Combining these materials offers an effective, budget-friendly way to improve your studio’s acoustics and minimize noise disturbances.
How Can I Optimize Lighting in a Home Studio?
Did you know proper lighting can boost your studio productivity by up to 30%? To optimize lighting, focus on strategic lighting placement to reduce shadows and glare. Use a mix of natural light and adjustable artificial lights for balanced illumination. Maximize natural light by positioning your workstation near windows, and add diffusers or softboxes to create even, comfortable lighting that enhances your work environment and minimizes eye strain.
What Are Essential Safety Considerations for Home Studio Setups?
You should prioritize fire hazard prevention by keeping electrical cords organized and away from flammable materials. Follow electrical safety protocols by inspecting outlets and equipment regularly, avoiding overloading circuits, and using surge protectors. Guarantee proper ventilation and keep a fire extinguisher nearby. Always unplug equipment when not in use and ensure your setup complies with safety standards to protect yourself and your gear.
How Do I Choose the Right Audio Interface for My Needs?
Imagine you’re a modern-day Leonardo, choosing an audio interface that fits your needs. Focus on key features like the number of inputs and outputs, latency, and preamp quality. Make certain the interface is compatible with your studio setup, including your computer’s OS and software. Prioritize studio compatibility and interface features that match your recording goals, whether vocals, instruments, or podcasts, so you get seamless recording sessions and excellent sound quality.
What Are Common Mistakes in Home Studio Wiring?
You often make wiring mistakes like neglecting proper cable management, which leads to clutter and noise interference. Make certain you follow grounding techniques to prevent hums and electrical issues. Avoid running cables across power sources or in parallel with electrical lines, and keep your cables organized and separated. Properly grounding all equipment reduces noise and protects your gear, creating a cleaner, more professional sound in your home studio.
studio monitor calibration microphone
As an affiliate, we earn on qualifying purchases.
As an affiliate, we earn on qualifying purchases.
Conclusion
By standardizing your home studio, you’re laying a solid foundation like bricks in a wall, ensuring stability and growth. Consistent setup practices turn chaos into harmony, making your creative space a well-oiled machine. When you embrace these standards, your studio becomes a launchpad, ready to propel your projects forward with confidence. Think of it as tuning a fine instrument—once calibrated, your sound will resonate clearer and stronger, helping you stay competitive in the music world.
soundproof acoustic panels for recording
As an affiliate, we earn on qualifying purchases.
As an affiliate, we earn on qualifying purchases.
professional microphone calibration software
As an affiliate, we earn on qualifying purchases.
As an affiliate, we earn on qualifying purchases.
Halloween Picks
halloween
As an affiliate, we earn on qualifying purchases.