
To treat your home studio like a pro, start by identifying your main noise sources and choosing the quietest, most insulated space. Use simple acoustic treatments like soundproof curtains, foam panels, and sealing gaps around doors and windows. Incorporate mass-loaded vinyl for extra barrier protection and optimize your room layout for better sound quality. Regular maintenance and upgrades will keep noise levels low — keep exploring to discover even more effective techniques.
Key Takeaways
- Identify and monitor primary external and internal noise sources to target specific treatment areas effectively.
- Use DIY solutions like soundproof curtains and acoustic foam panels to reduce echoes and external noise entry.
- Incorporate advanced materials such as mass-loaded vinyl and resilient channels for improved sound isolation.
- Optimize room shape and placement with acoustic treatments at reflection points and bass traps for balanced sound.
- Regularly assess and upgrade equipment and materials to maintain professional-grade noise control and sound clarity.
Top picks for "noise floor nightmar"
Open Amazon search results for this keyword.
As an affiliate, we earn on qualifying purchases.
Assessing Your Noise Sources and Setting Priorities
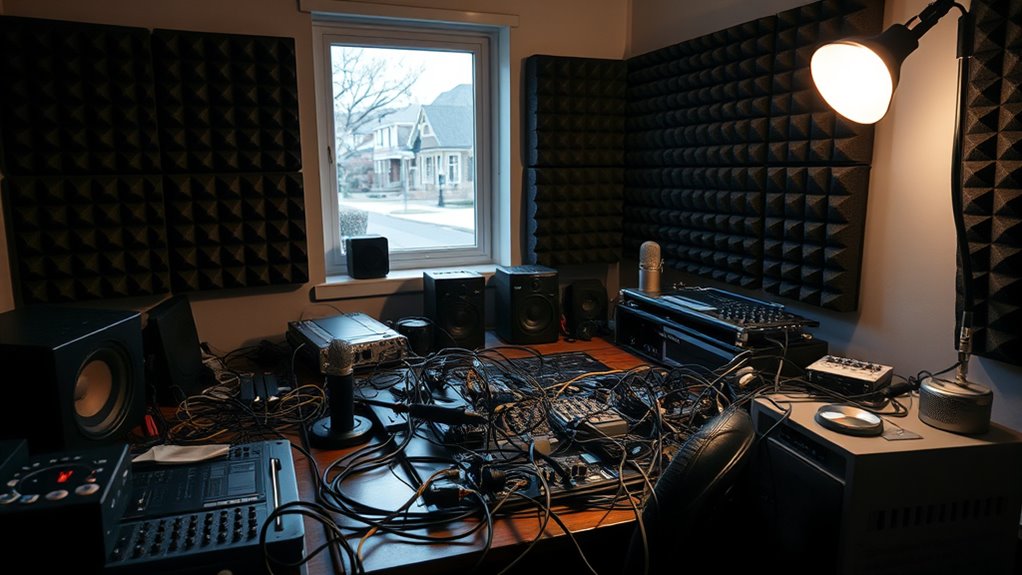
Before tackling your noise issues, it’s essential to identify where the noise is coming from and determine which sources are the most disruptive. Start with sound level monitoring to measure the intensity of different noises in your space. Use a decibel meter or smartphone app to pinpoint loudest areas and times. Noise source identification helps you understand whether external sounds, equipment, or household activities pose the biggest problems. Prioritize the most disruptive sources first, so you can target your efforts effectively. Taking these steps ensures you focus on the right areas and avoid wasting time on minor issues. Clear identification and monitoring lay the foundation for implementing effective soundproofing strategies that improve your home studio environment. Additionally, understanding your industry transformations can help you adapt your soundproofing approach to emerging challenges and opportunities.
Selecting the Right Location for Your Studio
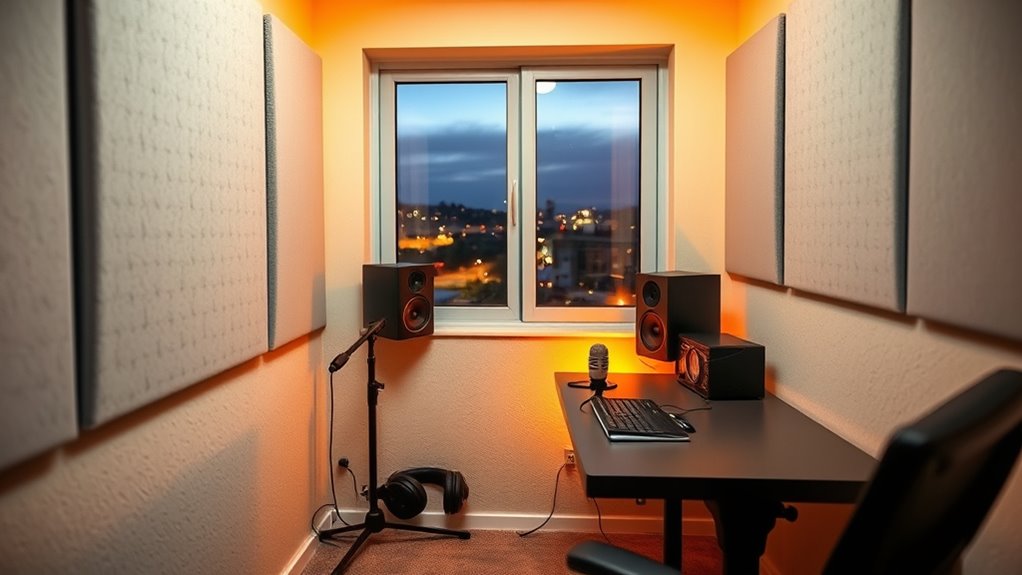
Choosing the right location for your home studio is essential for minimizing noise disruptions and creating an ideal recording environment. Look for a space away from busy streets, household traffic, or noisy appliances. Rooms with soundproof windows can greatly reduce outside noise, helping you maintain a quiet environment. Consider areas with solid walls and minimal shared walls with noisy neighbors. Floor isolation is important—choose a room with a sturdy, well-cushioned floor or add isolation pads to absorb vibrations. Avoid rooms with thin floors or those directly above garages or laundry rooms. The goal is to find a spot where external sounds are minimized and vibrations won’t carry through. A carefully selected location will give you a stable foundation for achieving professional-quality recordings. Incorporating unique and wicked planters into the space can also help improve sound absorption and create a more acoustically friendly environment.
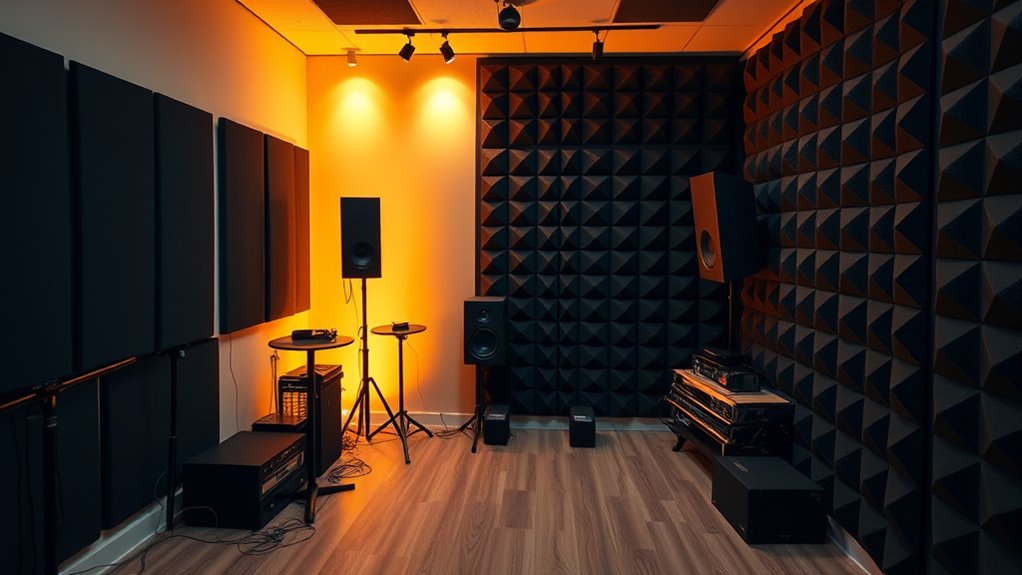
Starting With Basic Acoustic Treatments
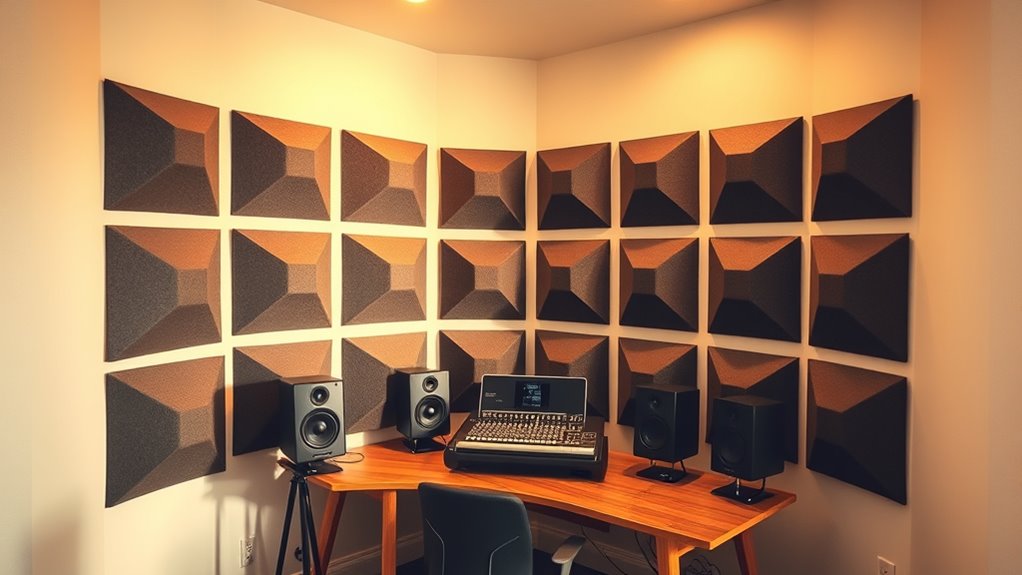
Starting with basic acoustic treatments is a practical way to immediately improve your studio’s sound quality without breaking the bank. Begin by hanging soundproof curtains over windows and doorways to reduce sound leaks and external noise. These curtains are affordable and easy to install, making them a quick upgrade. Next, add acoustic foam panels to strategic spots on your walls to absorb echoes and control reflections. Focus on placement behind your monitors and around your mixing area for maximum benefit. While these treatments won’t eliminate all noise issues, they considerably enhance clarity and reduce unwanted reverberations. Incorporating sound absorption techniques can further improve your room’s acoustics. Starting with soundproof curtains and acoustic foam panels creates a solid foundation, setting the stage for more advanced treatments later on.
Using DIY Soundproofing Techniques on a Budget
If you’re looking to further cut down on noise without spending a fortune, DIY soundproofing offers practical solutions you can implement yourself. Start with DIY decoupling techniques, such as creating staggered stud walls or using resilient clips, to reduce vibrations transferring through your structure. You can also craft budget bass traps by filling open cavities with dense materials like rockwool or fiberglass, which absorb low-frequency sounds effectively. Adding mass to walls with affordable materials like drywall or moving blankets can further dampen noise. Consider sealing gaps around doors and windows with weatherstripping or acoustic caulk. These simple, cost-effective methods make your home studio soundproofing more accessible, helping you achieve professional-quality acoustics without breaking the bank. Incorporating Kia Tuning techniques like upgrading your suspension or adding mass can also help minimize vibrations and improve overall sound isolation in your space.
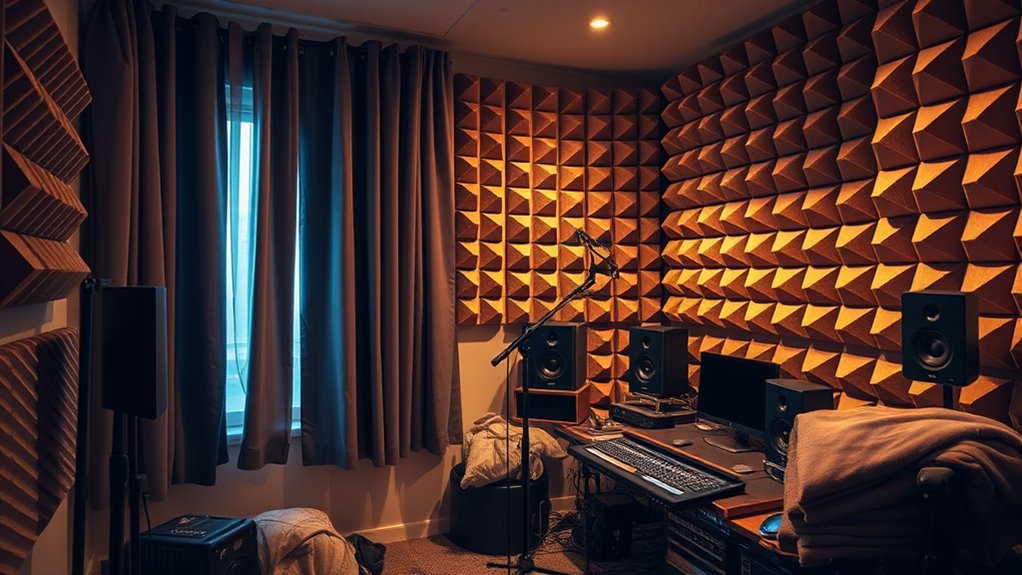
Incorporating Mass-Loaded Vinyl and Soundproof Panels
Incorporating mass-loaded vinyl (MLV) and soundproof panels can considerably improve your room’s soundproofing by adding dense, effective barriers against noise. MLV is a flexible, heavy material that you can layer behind walls or inside existing panels to block sound transmission. Pair this with soundproof curtains, which absorb and dampen noise entering through windows or open spaces. Additionally, acoustic door seals create airtight barriers, preventing sound leaks around doors. Combining these elements enhances your studio’s noise control, especially when integrated with soundproof panels that absorb echoes and reduce reflections. Together, MLV, soundproof curtains, and acoustic door seals form a extensive approach, making your space quieter and more professional, whether you’re recording, mixing, or simply enjoying a peaceful environment.
Managing External Noise With Strategic Barriers
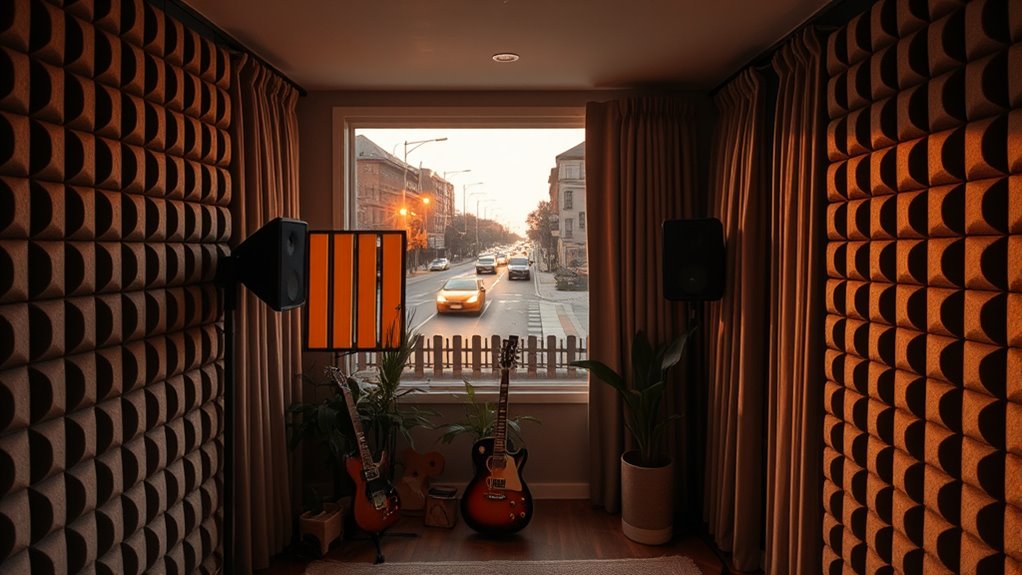
While adding internal soundproofing materials helps contain noise within your space, addressing external noise sources requires a targeted approach. Strategic barriers can markedly reduce outside disruptions, making your studio quieter and more controlled. Installing soundproof curtains helps absorb sound waves coming through windows, while outdoor barriers like fences or shrubs block direct sound paths. Combining these methods creates a layered defense against noise infiltration. Properly segmenting your audience can also help in identifying the times when external noise is most disruptive, allowing you to schedule recordings accordingly.
- Use tall, dense outdoor barriers to deflect sound before it reaches your studio
- Install soundproof curtains on windows for immediate noise absorption
- Place barriers strategically around noisy sources to redirect sound
- Use landscaping features to add an extra layer of sound attenuation
- Regularly maintain barriers for maximum effectiveness
These steps help you control external noise, creating a professional-grade environment for your recordings.
Optimizing Your Room’s Layout for Acoustic Efficiency
You can improve your room’s acoustics by placing speakers strategically to minimize sound reflections. The shape of your space also plays a vital role, as certain layouts reduce echo and dead spots. By focusing on these aspects, you’ll create a more balanced and efficient listening environment. Incorporating room shape considerations can further optimize sound quality and reduce unwanted noise.
Strategic Speaker Placement
Proper speaker placement is essential for achieving clear, balanced sound and minimizing noise-floor issues. Your goal is to optimize speaker positioning to prevent sound reflections and dead spots. Start by placing your speakers at ear level, forming an equilateral triangle with your listening position. Avoid placing speakers directly against walls to reduce acoustic reflections. Use room calibration tools to fine-tune your setup, ensuring accurate sound reproduction. Remember, small adjustments can profoundly impact audio clarity.
- Maintain symmetry in speaker placement
- Keep speakers away from reflective surfaces
- Use stands or isolation pads for stability
- Calibrate your room regularly
- Test sound from multiple positions for consistency
Room Shape Considerations
Have you considered how your room’s shape influences sound quality? Irregularities in room shape can cause unwanted reflections and standing waves, negatively impacting your recordings. To optimize acoustic efficiency, focus on maintaining balanced room dimensions and minimizing sharp corners or unusual angles. Rectangular rooms are ideal, but if your space has shape irregularities, consider acoustic treatments to correct sound reflections. Properly managing room shape enhances clarity and reduces noise-floor issues.
| Room Shape | Effect on Sound Quality |
|---|---|
| Rectangular | Better sound distribution, easier treatment |
| Irregular shape | Causes reflections, complicates acoustics |
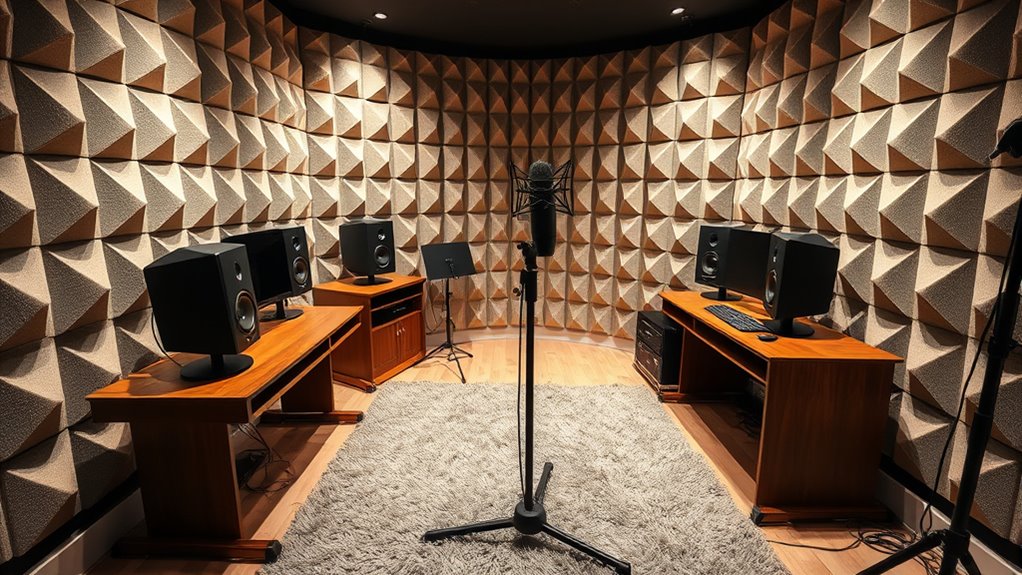
Installing Sound Absorbers to Reduce Echo and Reverb

To effectively reduce echo and reverb in a room, installing sound absorbers is a critical step. These panels enhance sound absorption, making your recordings clearer and more professional. Proper placement helps target problem areas where sound bounces and creates unwanted reverb. Focus on absorbing high-frequency reflections, which are most noticeable in home studios. When choosing sound absorbers, consider materials like foam or fiberglass, and position them at reflection points for maximum echo reduction. Remember, strategic placement is key to achieving a balanced sound environment. Additionally, understanding how automation in business can optimize your workflow allows you to plan the placement of sound treatments more efficiently.
- Identify reflection points using a mirror or listen actively
- Use bass traps in corners for low-frequency control
- Cover large surfaces with acoustic panels
- Combine different types of sound absorbers for wider frequency range
- Regularly evaluate and adjust placement for ideal echo reduction
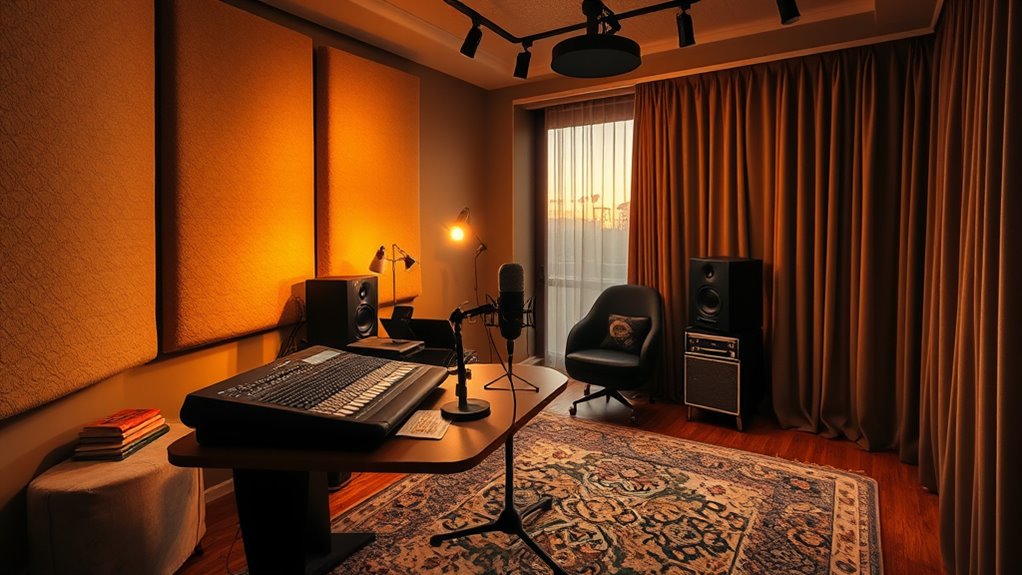
Upgrading Your Equipment for Better Noise Control

Upgrading your equipment can substantially improve noise control by reducing unwanted sound leakage and external disturbances. Start with soundproof curtains, which block out noise from outside and prevent sound from escaping your studio. These curtains are easy to install and highly effective for isolating your space. Additionally, incorporating acoustic diffusers helps scatter sound waves within your room, minimizing echo and creating a clearer listening environment. Unlike foam panels, diffusers improve sound quality without absorbing too much, maintaining natural acoustics. Combining soundproof curtains with acoustic diffusers offers a practical upgrade that enhances your studio’s noise control. These improvements not only reduce distractions but also elevate your recording and mixing experience, making your home studio feel more professional and controlled. Moreover, integrating AI-powered solutions can optimize your sound environment by analyzing noise patterns and suggesting tailored acoustic treatments.
Maintaining Your Studio’s Acoustic Environment Over Time
To keep your studio’s sound quality consistent, you need to regularly assess its acoustics and address any issues. Upgrading soundproofing materials as needed can prevent noise leaks and improve clarity. Staying proactive guarantees your environment remains optimized for every recording session. Additionally, incorporating proper room layout techniques can enhance sound diffusion and reduce unwanted echoes.
Regular Acoustic Assessments
Regular acoustic assessments are essential for guaranteeing your studio’s sound environment stays consistent and ideal over time. Over months, factors like shifting furniture or new equipment can alter soundproofing effectiveness. Regular evaluations help identify issues before they worsen, maintaining peak sound quality. Check that your soundproof windows still block noise and don’t develop leaks. Inspect acoustic ceiling tiles for damage or sagging that can affect acoustics. Consider room dimensions and surface reflections that may shift with changes. Use measurements or professional assessments to verify your setup remains effective. Staying proactive ensures your studio continues to deliver clear, professional sound and prevents costly future upgrades.
- Detect subtle sound leaks early
- Ensure soundproof windows remain effective
- Maintain optimal placement of acoustic ceiling tiles
- Adjust for changes in room acoustics
- Keep your studio sounding professional over time
Upgrading Soundproofing Materials
As your studio evolves, upgrading soundproofing materials becomes essential to maintain ideal acoustic performance. Over time, older materials may lose effectiveness or fail to block new noise pollution sources. Don’t fall for soundproofing myths that suggest total silence is possible; instead, aim for maximum reduction. Upgrading can involve replacing flimsy panels or adding mass-loaded vinyl to better block noise from sources like traffic or household activities. Use the following table to identify suitable materials:
| Material Type | Best Use Case |
|---|---|
| Mass-loaded vinyl | Blocking low-frequency noise from outside |
| Acoustic foam | Improving internal sound clarity |
| Resilient channels | Reducing structure-borne noise transmission |
Regular upgrades ensure your studio stays professional and soundproofed against evolving noise challenges.
Frequently Asked Questions
How Can I Identify Hidden Noise Leaks in My Studio?
To identify hidden noise leaks in your studio, start by listening carefully during different times of the day. Use sound masking techniques, like white noise, to reveal subtle leaks. Check for vibrations transferring through walls or floors, indicating poor vibration isolation. Seal gaps around windows, doors, and outlets, and use a stethoscope or microphone to pinpoint leak sources. Addressing these issues creates a quieter, more professional sound environment.
What Are Cost-Effective Ways to Improve Soundproofing?
Like building a fortress with LEGO, you can improve soundproofing on a budget by debunking soundproofing myths and trying simple solutions. Use weatherstripping on doors and windows, hang thick blankets or acoustic panels, and seal gaps with caulk. These budget-friendly solutions often get overlooked but are highly effective. Remember, you don’t need expensive materials to create a soundproof environment — smart, affordable steps make a big difference.
How Does Room Shape Affect Sound Absorption?
Room shape markedly impacts sound absorption by influencing room geometry and sound reflection. You’ll notice that irregular or non-parallel walls help diffuse sound waves, reducing echo and standing waves. Avoid rectangular rooms with parallel surfaces, as they cause sound reflection issues. Incorporate angled walls or irregular shapes to promote better sound diffusion, creating a more balanced acoustic environment. This simple change can make your studio sound clearer and more professional.
Can Furniture Placement Impact Acoustic Treatment Effectiveness?
A well-placed piece of furniture can make a world of difference. When you optimize your furniture arrangement and room layout, it enhances your acoustic treatment’s effectiveness. You’re fundamentally tuning your space, preventing sound reflections from bouncing around chaotically. By thoughtfully arranging furniture, you create a balanced environment, reducing unwanted noise and echo. Don’t forget, a good foundation starts with smart positioning—your room’s sound quality depends on it.
What Maintenance Is Needed for Soundproofing Materials Over Time?
You should regularly inspect your soundproofing materials for signs of vibration isolation issues or material degradation. Over time, vibrations can weaken their effectiveness, so check for loose or damaged areas. Clean surfaces gently to prevent dirt buildup that can compromise absorption. Replace worn or compromised materials promptly to maintain ideal soundproofing. Staying proactive ensures your home studio remains well-isolated, providing consistent sound quality and reducing noise leakage.
Conclusion
By carefully evaluating your noise sources and choosing the right treatments, you can turn your home studio into a professional-sounding space. It’s funny how small tweaks—like DIY panels or clever room layout—can make a huge difference. With a bit of planning and patience, you’ll find that your quiet, focused environment often comes when you least expect it. Ultimately, creating the perfect studio isn’t just about equipment; it’s about making noise work for you.