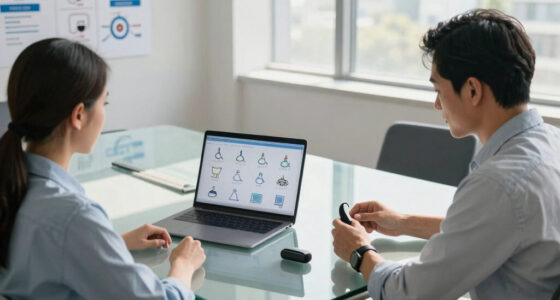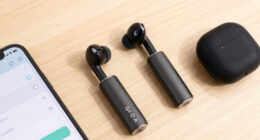

This guide provides clear instructions for educators, caregivers, or students to properly select, set up, and use assistive listening devices (ALDs) in educational settings. The goal is to improve hearing clarity for students with hearing impairments, ensuring they can participate fully in classroom activities. This process involves understanding device types, proper setup, and troubleshooting common issues. It is suitable for those with basic technical familiarity and a desire to support students with hearing challenges, with an estimated time of about 30 to 60 minutes.
Difficulty: Intermediate | Time: 30-60 minutes
What You’ll Need
Tools & Materials:
- Assistive listening device (e.g., FM system, induction loop, or personal amplifier)
- Batteries or power source
- Audio source (microphone, classroom speaker, or microphone-enabled device)
Knowledge:
- Basic understanding of hearing assistive technology
- Familiarity with classroom audio setup or electronic devices
Ensure the device is compatible with the student’s hearing aids or cochlear implants if applicable. Check that all parts are in working condition before setup.

Avantree Audiplex M3 – Multi-Channel Assistive Listening Devices for Schools & Churches, 1 Transmitter & 3 Clip-on Receivers, 30ms Low-Latency Wireless Audio System for Groups & Multilingual Events
【For Multi-Group Assistive Listening】Supports up to 4 selectable channels, allowing churches, schools, training sessions, or multilingual events to…
As an affiliate, we earn on qualifying purchases.
As an affiliate, we earn on qualifying purchases.
Before You Start
Verify the device’s battery is charged or fresh. Confirm the device is compatible with the student’s hearing aids or cochlear implants. Read the manufacturer’s instructions for specific setup steps and safety precautions.

Comtek Digital Auditory FM Trainer with Smart Mic
The smart mic option for the Comtek receiver optimizes the performance of the Comtek AT-216 wireless auditory assistance…
As an affiliate, we earn on qualifying purchases.
As an affiliate, we earn on qualifying purchases.
Step-by-Step Instructions
Step 1: Identify the appropriate assistive listening device
Select the device type suited for the student’s needs, such as an FM system, induction loop, or personal amplifier. Consider the classroom environment and the student’s hearing preferences.
Tip:
Consult with the student’s audiologist or specialist if unsure about the best device type.
Check:
You have selected a device compatible with the student’s hearing aids or implants and suitable for the classroom environment.
Step 2: Check and prepare the device
Insert batteries or power the device. Turn on the device and verify it powers up correctly. Test the audio input (microphone or other source) to ensure it is functioning.
Tip:
Use fresh batteries or fully charged power sources to avoid interruptions.
Check:
The device powers on without issues, and audio input produces clear sound without static or distortion.
Step 3: Position the microphone or audio source
Place the microphone close to the teacher, student presenter, or audio source, ensuring it captures sound clearly. For classroom microphones, position them to optimize sound pickup.
Tip:
Avoid placing microphones too close to noise sources or in areas where they might be obstructed.
Check:
The microphone picks up the intended sound clearly, with minimal background noise, when tested.
Step 4: Connect the device to the student
Attach the receiver or transmitter to the student’s hearing aids or cochlear implants using the appropriate interface (e.g., T-coil, Bluetooth, or direct audio input). Confirm the connection is secure.
Tip:
Use the correct accessories or adapters recommended by the device manufacturer.
Check:
The student reports hearing the audio clearly through their hearing aids or cochlear implants, with no feedback or static.
Step 5: Adjust volume and settings
Set the device volume to a comfortable level for the student, avoiding excessive loudness. Adjust any additional settings like tone or balance if available.
Tip:
Start at a lower volume and increase gradually, asking the student for feedback.
Check:
The student can hear clearly without discomfort or background noise interference.
Step 6: Test the setup in the classroom environment
Have the student listen to a test sound or participate in a brief activity to confirm clarity and comfort. Check for feedback, static, or connection issues.
Tip:
Make adjustments as needed based on the test results.
Check:
The student demonstrates understanding and reports clear, comfortable hearing during the test.
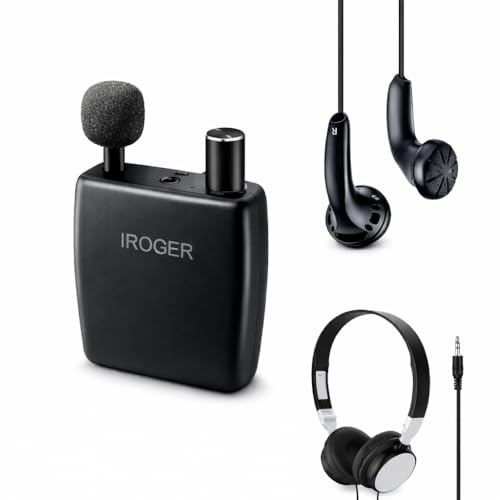
IROGER Hearing Amplifier for Seniors, Personal Sound Amplifier, Smart Auto-Gain, Directional Microphone, Rechargeable Battery, Headphones & Earbuds Included
Smart Auto-Gain Control – Enjoy crystal-clear sound at all times. iRoger automatically balances audio levels to enhance voices…
As an affiliate, we earn on qualifying purchases.
As an affiliate, we earn on qualifying purchases.
Common Mistakes to Avoid
- Using incompatible or low-quality batteries, causing device failure. — Use only recommended batteries or power sources and replace them regularly.
- Placing microphones or audio sources too far from the speaker. — Position microphones close enough to capture sound clearly, typically within 6-12 inches of the source.
- Not securing connections properly, leading to static or dropout. — Check all connectors, adapters, and cables for a secure fit before use.
- Overloading the volume, risking discomfort or feedback. — Start at low volume and increase gradually, monitoring the student’s comfort.

Williams Sound PLA 90 Counter Loop, Users Bring Their own Device (Hearing aid with T-Coil), No Charging or maintaining of receivers by The Venue, Built-in Microphone
Magnetic signal couples directly to hearing aids equipped with telecoils (T-Coils)
As an affiliate, we earn on qualifying purchases.
As an affiliate, we earn on qualifying purchases.
Troubleshooting
Problem: Student reports hearing static or no sound.
Solution: Check all connections, replace batteries if weak, and verify the device is powered on and correctly paired.
Problem: Device is not transmitting audio to the student.
Solution: Ensure the transmitter and receiver are on the same channel or paired correctly. Re-pair if necessary.
Problem: Feedback or whistling occurs.
Solution: Adjust the microphone placement, reduce volume, or reposition the device away from reflective surfaces.
Problem: Battery runs out quickly.
Solution: Use high-quality batteries and keep spares handy for quick replacement.
What Success Looks Like
The student reports clear, comfortable hearing of classroom sounds, with no static, feedback, or connection issues. The device remains functional throughout the lesson or activity without interruptions.
Next Steps
Regularly test the device before each use. Clean and maintain the equipment as recommended. Consult with an audiologist if issues persist. When not in use, turn off the device to conserve power. Consider training staff and students on proper handling and troubleshooting for ongoing effectiveness.
Frequently Asked Questions
How do I know which assistive listening device is best for my student?
Consult with the student’s audiologist or specialist to determine the most suitable device based on their hearing profile and classroom environment.
Can assistive listening devices be used with all hearing aids?
Most devices are compatible with standard hearing aids, especially those with T-coil or Bluetooth functionality. Verify compatibility with the hearing aids and device manufacturer’s guidelines.
How often should I test the device?
Test the device before each use to ensure proper operation. Perform a more thorough check weekly or after long periods of inactivity.
What should I do if the device stops working during class?
Check connections, replace batteries, and verify the device is powered on. Keep spare batteries and a backup device if possible.